
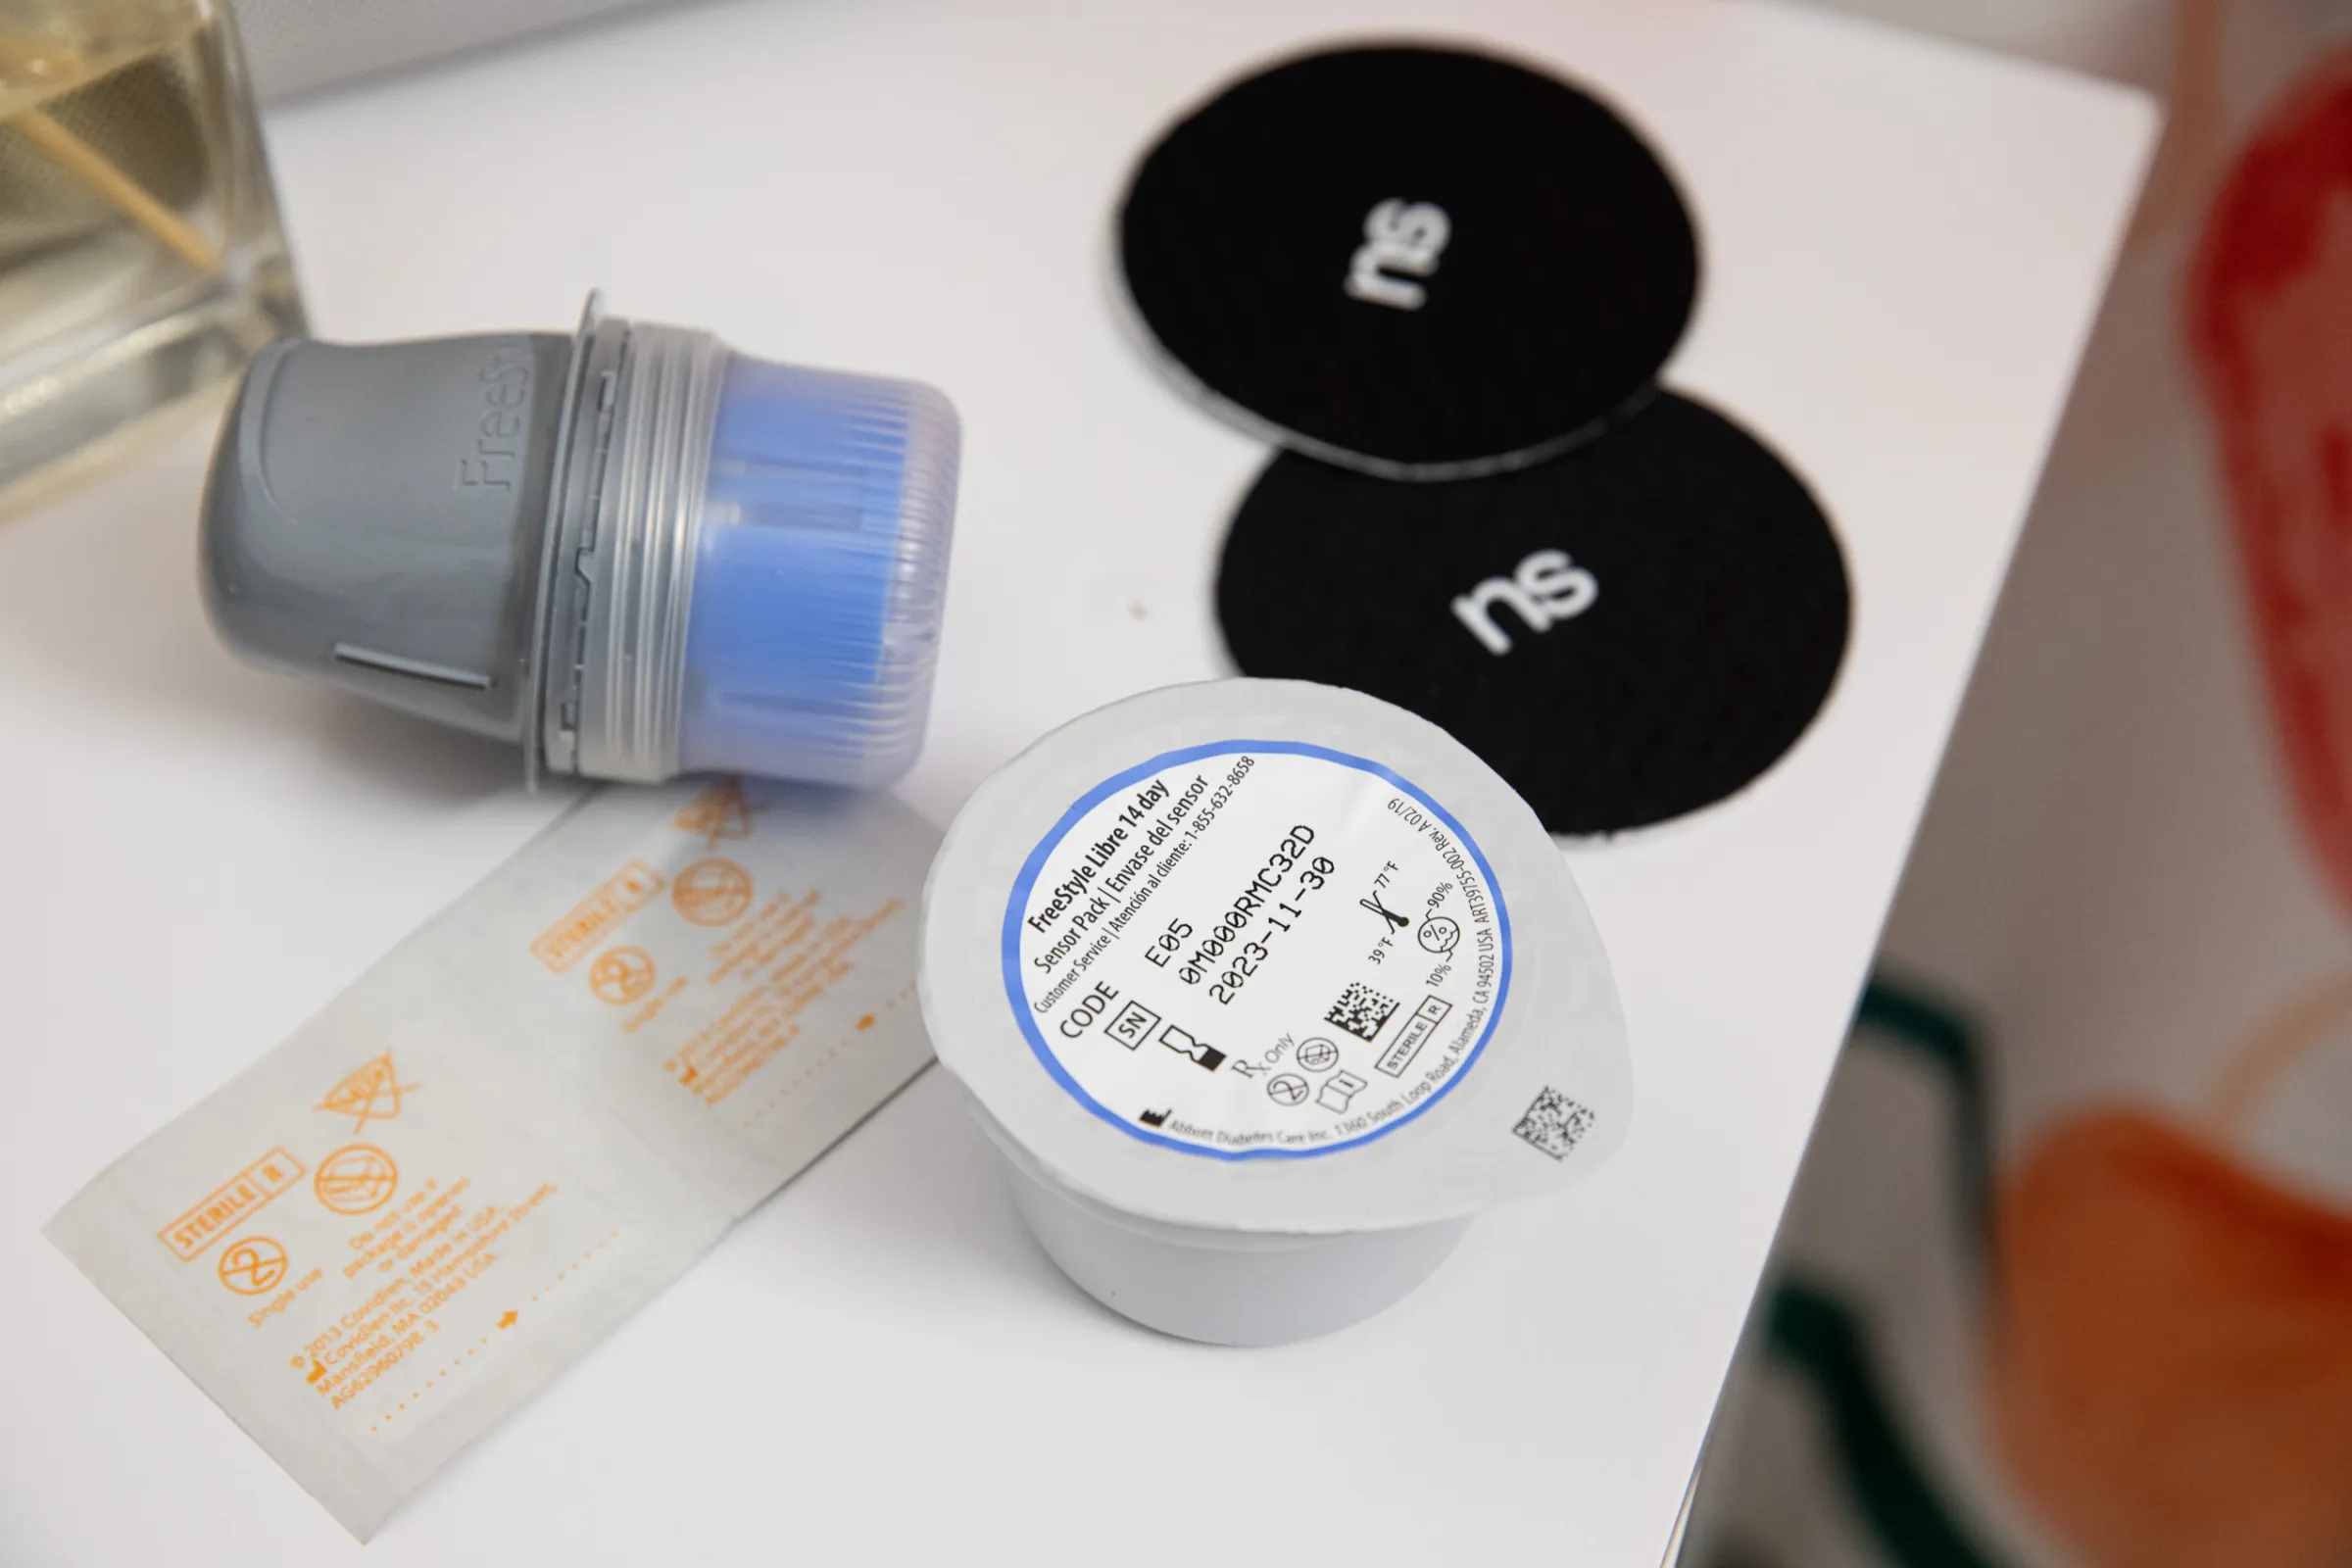
The Complete Guide to Replacing FreeStyle Libre and Dexcom Sensors
Continuous glucose monitors (CGMs) such as FreeStyle Libre and Dexcom have made glucose monitoring easier by providing regular readings without the need for frequent fingersticks.
However, CGM sensors are not designed to last forever.
Each sensor has a specific wear period, and knowing when and how to replace it is essential for reliable readings, skin health, and continuous glucose monitoring.
This guide explains when to replace FreeStyle Libre and Dexcom sensors, how to safely remove an old sensor, how to prepare the skin, how to apply a new sensor, and what to do when a sensor fails or comes off early.
Important: Exact wear duration, insertion sites, warm-up periods, and replacement procedures vary by CGM model and country.
Always follow the instructions supplied with your specific sensor.
When Should You Replace a CGM Sensor?
The most important rule is simple: replace the sensor according to the approved wear period for your specific model.
Different generations of FreeStyle Libre and Dexcom sensors have different approved wear times. For example, some models are designed for approximately 10 days, while other FreeStyle Libre models may be designed for longer wear.
You should also replace a sensor if:
It has reached the end of its approved wear period.
The sensor has accidentally fallen off.
The sensor is damaged.
The CGM repeatedly displays sensor errors.
Readings appear consistently unreliable.
The insertion site becomes significantly irritated.
The adhesive is no longer keeping the sensor securely attached.
Your manufacturer’s instructions tell you to replace it.
Do not assume that every FreeStyle Libre or Dexcom sensor has the same lifespan. Check the model name and the instructions for that particular sensor.
Signs That Your Sensor May Need Attention
Not every unusual glucose reading means the sensor needs to be replaced. CGMs measure glucose in interstitial fluid, so readings can temporarily differ from blood glucose, particularly when glucose is changing quickly.
However, repeated problems deserve attention.
1. Frequent Sensor Errors
If your device repeatedly reports that it cannot provide a glucose reading, follow the troubleshooting instructions for your specific model.
If the problem persists, the sensor may need to be replaced.
2. Unexpectedly Extreme Readings
An isolated unusual reading doesn’t necessarily mean sensor failure.
But if you repeatedly receive readings that don’t make sense compared with your symptoms or, when appropriate, a blood glucose meter, investigate the issue rather than simply changing your alarm thresholds.
3. The Sensor Has Become Loose
A sensor that is partially detached may provide unreliable readings and is also more likely to fall off completely.
If the sensor is no longer securely attached, follow the manufacturer’s guidance rather than attempting to reposition or reinsert it.
4. Skin Irritation
Mild redness immediately after removing adhesive can occur, but significant irritation, swelling, pain, blistering, or worsening skin damage is a reason to stop and seek appropriate medical advice.
Don’t place a new sensor directly over irritated or damaged skin.
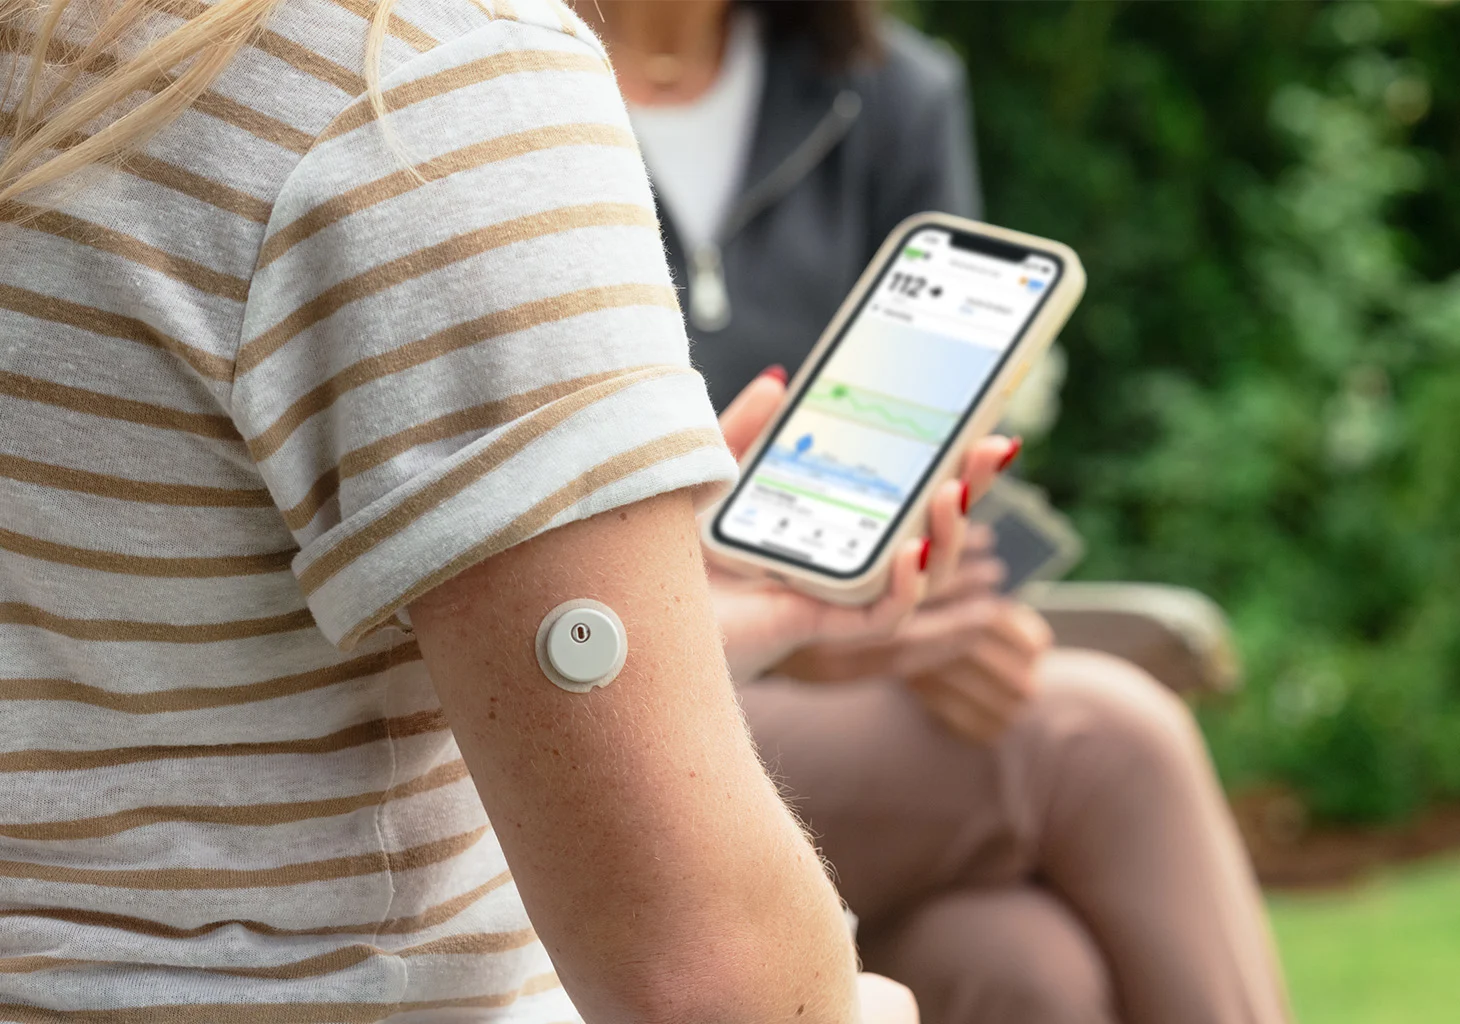
How to Remove an Old CGM Sensor
Removing a sensor properly can make the process much more comfortable and reduce unnecessary skin irritation.
Step 1: Wash Your Hands
Wash and dry your hands before handling the sensor.
Step 2: Remove the Adhesive Slowly
Start at one edge of the adhesive and gently peel it back.
Pulling the adhesive slowly rather than ripping it away can reduce discomfort and skin trauma.
If the adhesive is strongly attached, don’t force it. Follow the manufacturer’s recommendations for removing stubborn adhesive.
Step 3: Inspect the Skin
Once the sensor is removed, look at the insertion site.
Check for:
Redness
Swelling
Bleeding
Rash
Blisters
Persistent pain
Signs of infection
Allow the skin to recover before placing another sensor in the same area.
Step 4: Dispose of the Sensor Properly
Dispose of the used sensor according to the manufacturer’s instructions and your local waste-disposal requirements.
Preparing Your Skin for a New Sensor
Good skin preparation can significantly improve sensor adhesion and comfort.
Clean the Site
Choose an approved insertion location and clean the skin according to your CGM manufacturer’s instructions.
The skin should be:
Clean
Completely dry
Free of lotions
Free of oils
Free of excessive sweat
Do not apply moisturizer directly underneath the adhesive.
Moisturizers and oils can interfere with adhesion and cause the sensor to detach prematurely.
Give the Skin Time to Dry
One of the most common mistakes is applying the sensor before the skin is completely dry.
Allow the area to dry fully before insertion.
Rotate Your Sensor Sites
Avoid repeatedly placing sensors in exactly the same location.
Rotating sites can help reduce:
Skin irritation
Adhesive reactions
Repeated trauma
Local soreness
Always stay within the approved placement areas for your specific CGM.
How to Apply a New FreeStyle Libre Sensor
The exact process varies between FreeStyle Libre models, but the general process is:
Wash and dry your hands.
Select an approved sensor location.
Clean the skin according to the manufacturer’s instructions.
Allow the skin to dry completely.
Prepare the sensor applicator.
Position the applicator correctly.
Press the applicator firmly according to the instructions.
Remove the applicator.
Check that the sensor is securely attached.
Start or scan the sensor using the compatible reader or smartphone.
Wait for the required warm-up period.
Do not attempt to reuse a single-use sensor applicator or reinsert a removed sensor.
How to Apply a New Dexcom Sensor
Dexcom systems also vary by generation, so the exact procedure depends on your model.
Generally:
Wash and dry your hands.
Select an approved insertion location.
Clean the area.
Let the skin dry completely.
Prepare the sensor applicator.
Position it according to the manufacturer’s instructions.
Insert the sensor.
Secure the sensor and transmitter if your system requires a separate transmitter.
Start the sensor session using the Dexcom app or compatible receiver.
Complete the required warm-up period.
Some newer Dexcom systems have integrated components, while older systems may use a separate transmitter. Don’t assume the replacement procedure is identical between Dexcom generations.
What If the Sensor Falls Off Early?
This is one of the most common CGM problems.
If your sensor comes off before the end of its approved wear period:
Don’t try to reattach and reuse it unless the manufacturer specifically instructs you to do so.
Once an inserted sensor has been removed, it generally isn’t something you should attempt to reinsert.
Instead:
Save the sensor and applicator if your manufacturer requests them for troubleshooting.
Record the sensor’s serial number or other identifying information if available.
Check the manufacturer’s sensor-replacement policy.
Contact the manufacturer if the sensor failed prematurely.
Follow your usual glucose-monitoring plan while you’re waiting for a replacement.
Many manufacturers have customer-support processes for sensors that fail before their expected wear period, although eligibility for replacement depends on the circumstances and region.
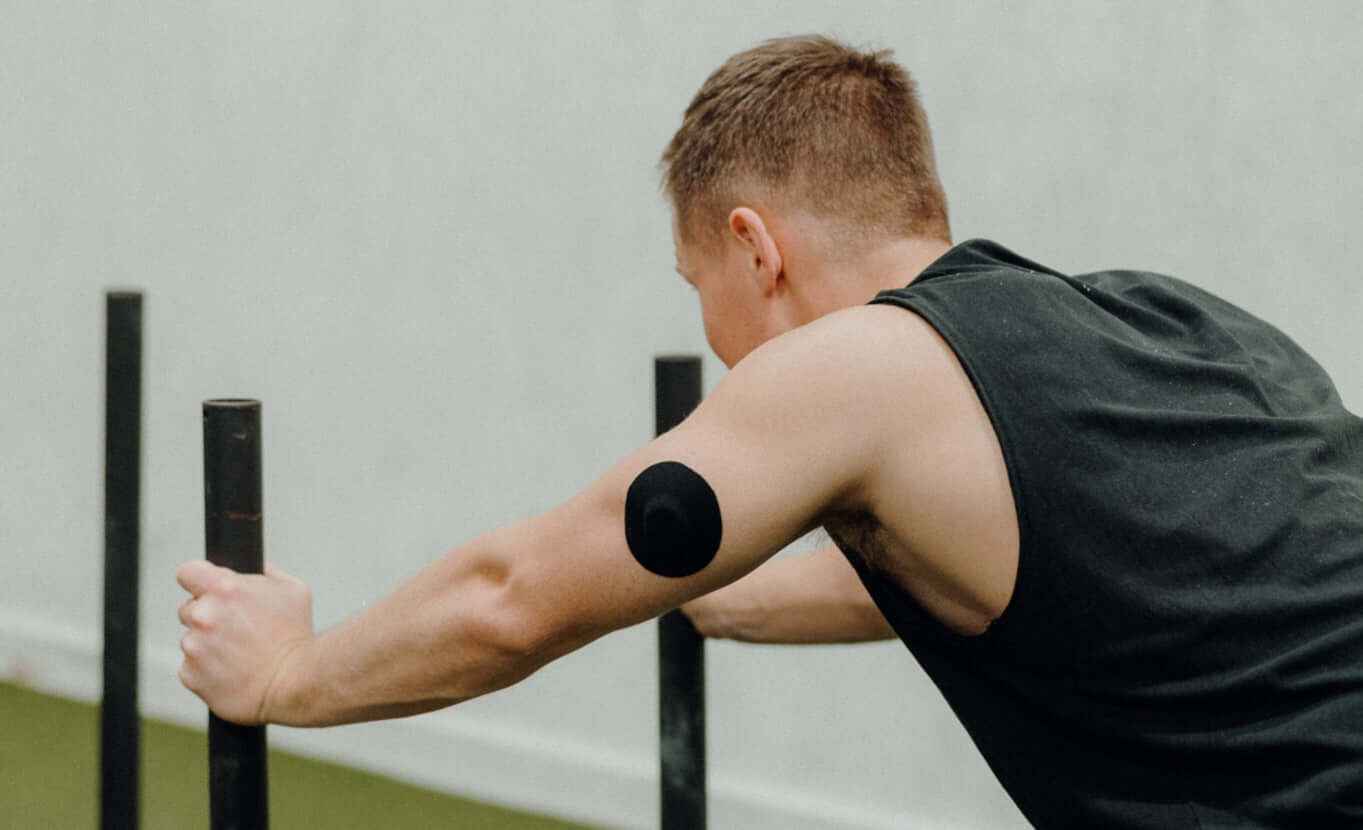
How to Make Your New Sensor Stay On Longer
If sensors repeatedly fall off early, look at the conditions surrounding the failure.
Before Exercise
Sweat can weaken adhesive.
If you exercise frequently, make sure the skin is clean and completely dry before applying the sensor.
During Showering
Follow the water-resistance limitations for your particular CGM.
Avoid unnecessarily rubbing or picking at the adhesive.
During Sleep
Try not to repeatedly place direct pressure on the sensor.
This can be particularly relevant if you notice unusual overnight readings.
Additional Adhesive
Some people use approved overpatches or additional adhesive products to improve retention.
However, don’t cover the sensor in a way that interferes with insertion, operation, or manufacturer instructions.
What About Sensor Warm-Up?
A replacement sensor generally doesn’t provide normal readings immediately after insertion.
Depending on the model, there may be a warm-up period before glucose readings become available.
During this period:
Don’t assume the absence of a reading means your glucose is normal.
Follow your CGM’s instructions.
Use an alternative glucose-monitoring method if required or recommended.
Don’t repeatedly restart a sensor simply to avoid the normal warm-up period.
The warm-up duration is model-specific, so check your device’s instructions.
What If Your New Sensor Doesn’t Match Your Blood Glucose?
This can happen, especially when glucose is changing rapidly.
For example, if you have just eaten, exercised, or taken glucose-lowering medication, the CGM and blood glucose meter may temporarily show different values.
However, if:
The difference is large,
It persists,
The CGM reading doesn’t match your symptoms,
Or the reading seems implausible,
follow your CGM manufacturer’s guidance for confirming glucose with a blood glucose meter when appropriate.
Never ignore symptoms of severe hypoglycemia or hyperglycemia simply because the CGM displays a reassuring number.
Can You Extend a Sensor Beyond Its Approved Wear Time?
This is an important distinction.
Some CGM users discuss sensor-extension techniques online, but using a sensor beyond its approved wear period is not necessarily supported by the manufacturer and may affect accuracy, adhesion, or safety.
The safest approach is to replace the sensor according to the approved schedule for your specific model.
Don’t restart or extend a sensor simply because it appears to be working normally.
FreeStyle Libre vs. Dexcom: Sensor Replacement
| Feature | FreeStyle Libre | Dexcom |
|---|---|---|
| Sensor lifespan | Depends on model | Depends on model |
| Warm-up period | Model-dependent | Model-dependent |
| Application | Dedicated applicator | Model-dependent applicator |
| Reader/app | Model-dependent | Model-dependent |
| Separate transmitter | Depends on model | Depends on model |
| Approved insertion sites | Model- and region-dependent | Model- and region-dependent |
| Early sensor failure | Manufacturer support may apply | Manufacturer support may apply |
The most important takeaway is that “FreeStyle Libre” and “Dexcom” are product families, not single devices. Always identify the exact model before following replacement instructions.
Tips for a Smoother Sensor Replacement
A few simple habits can make replacement easier:
Plan the replacement before the current sensor expires.
Don’t wait until the sensor stops working and then discover that you don’t have a replacement available.
Rotate insertion sites.
Give previously used areas time to recover.
Keep the skin completely dry.
This is particularly important for adhesion.
Avoid applying lotion underneath the sensor.
Don’t insert into irritated skin.
Keep track of sensor start dates.
Your CGM app will often do this automatically, but keeping track can still be useful.
Keep a backup glucose meter and test strips available.
A backup method is especially useful if a sensor fails unexpectedly.
When to Contact Your Healthcare Provider
Sensor replacement is usually straightforward, but medical advice is appropriate if you develop:
Significant swelling or redness
Increasing pain
Pus or drainage
Fever
A spreading rash
Persistent skin reactions
Repeated unexplained glucose readings
Frequent severe high or low glucose readings
If you’re experiencing repeated glucose problems rather than simply a sensor problem, the issue may require evaluation of your overall diabetes management rather than another sensor replacement.
Final Takeaway
Replacing a CGM sensor is more than simply removing the old sensor and applying a new one. Correct timing, appropriate site rotation, careful skin preparation, proper application, and understanding your device’s warm-up period all contribute to reliable monitoring.
Most importantly, follow the instructions for your exact FreeStyle Libre or Dexcom model, because sensor lifespan, approved insertion sites, warm-up time, and replacement procedures can differ considerably between generations.