
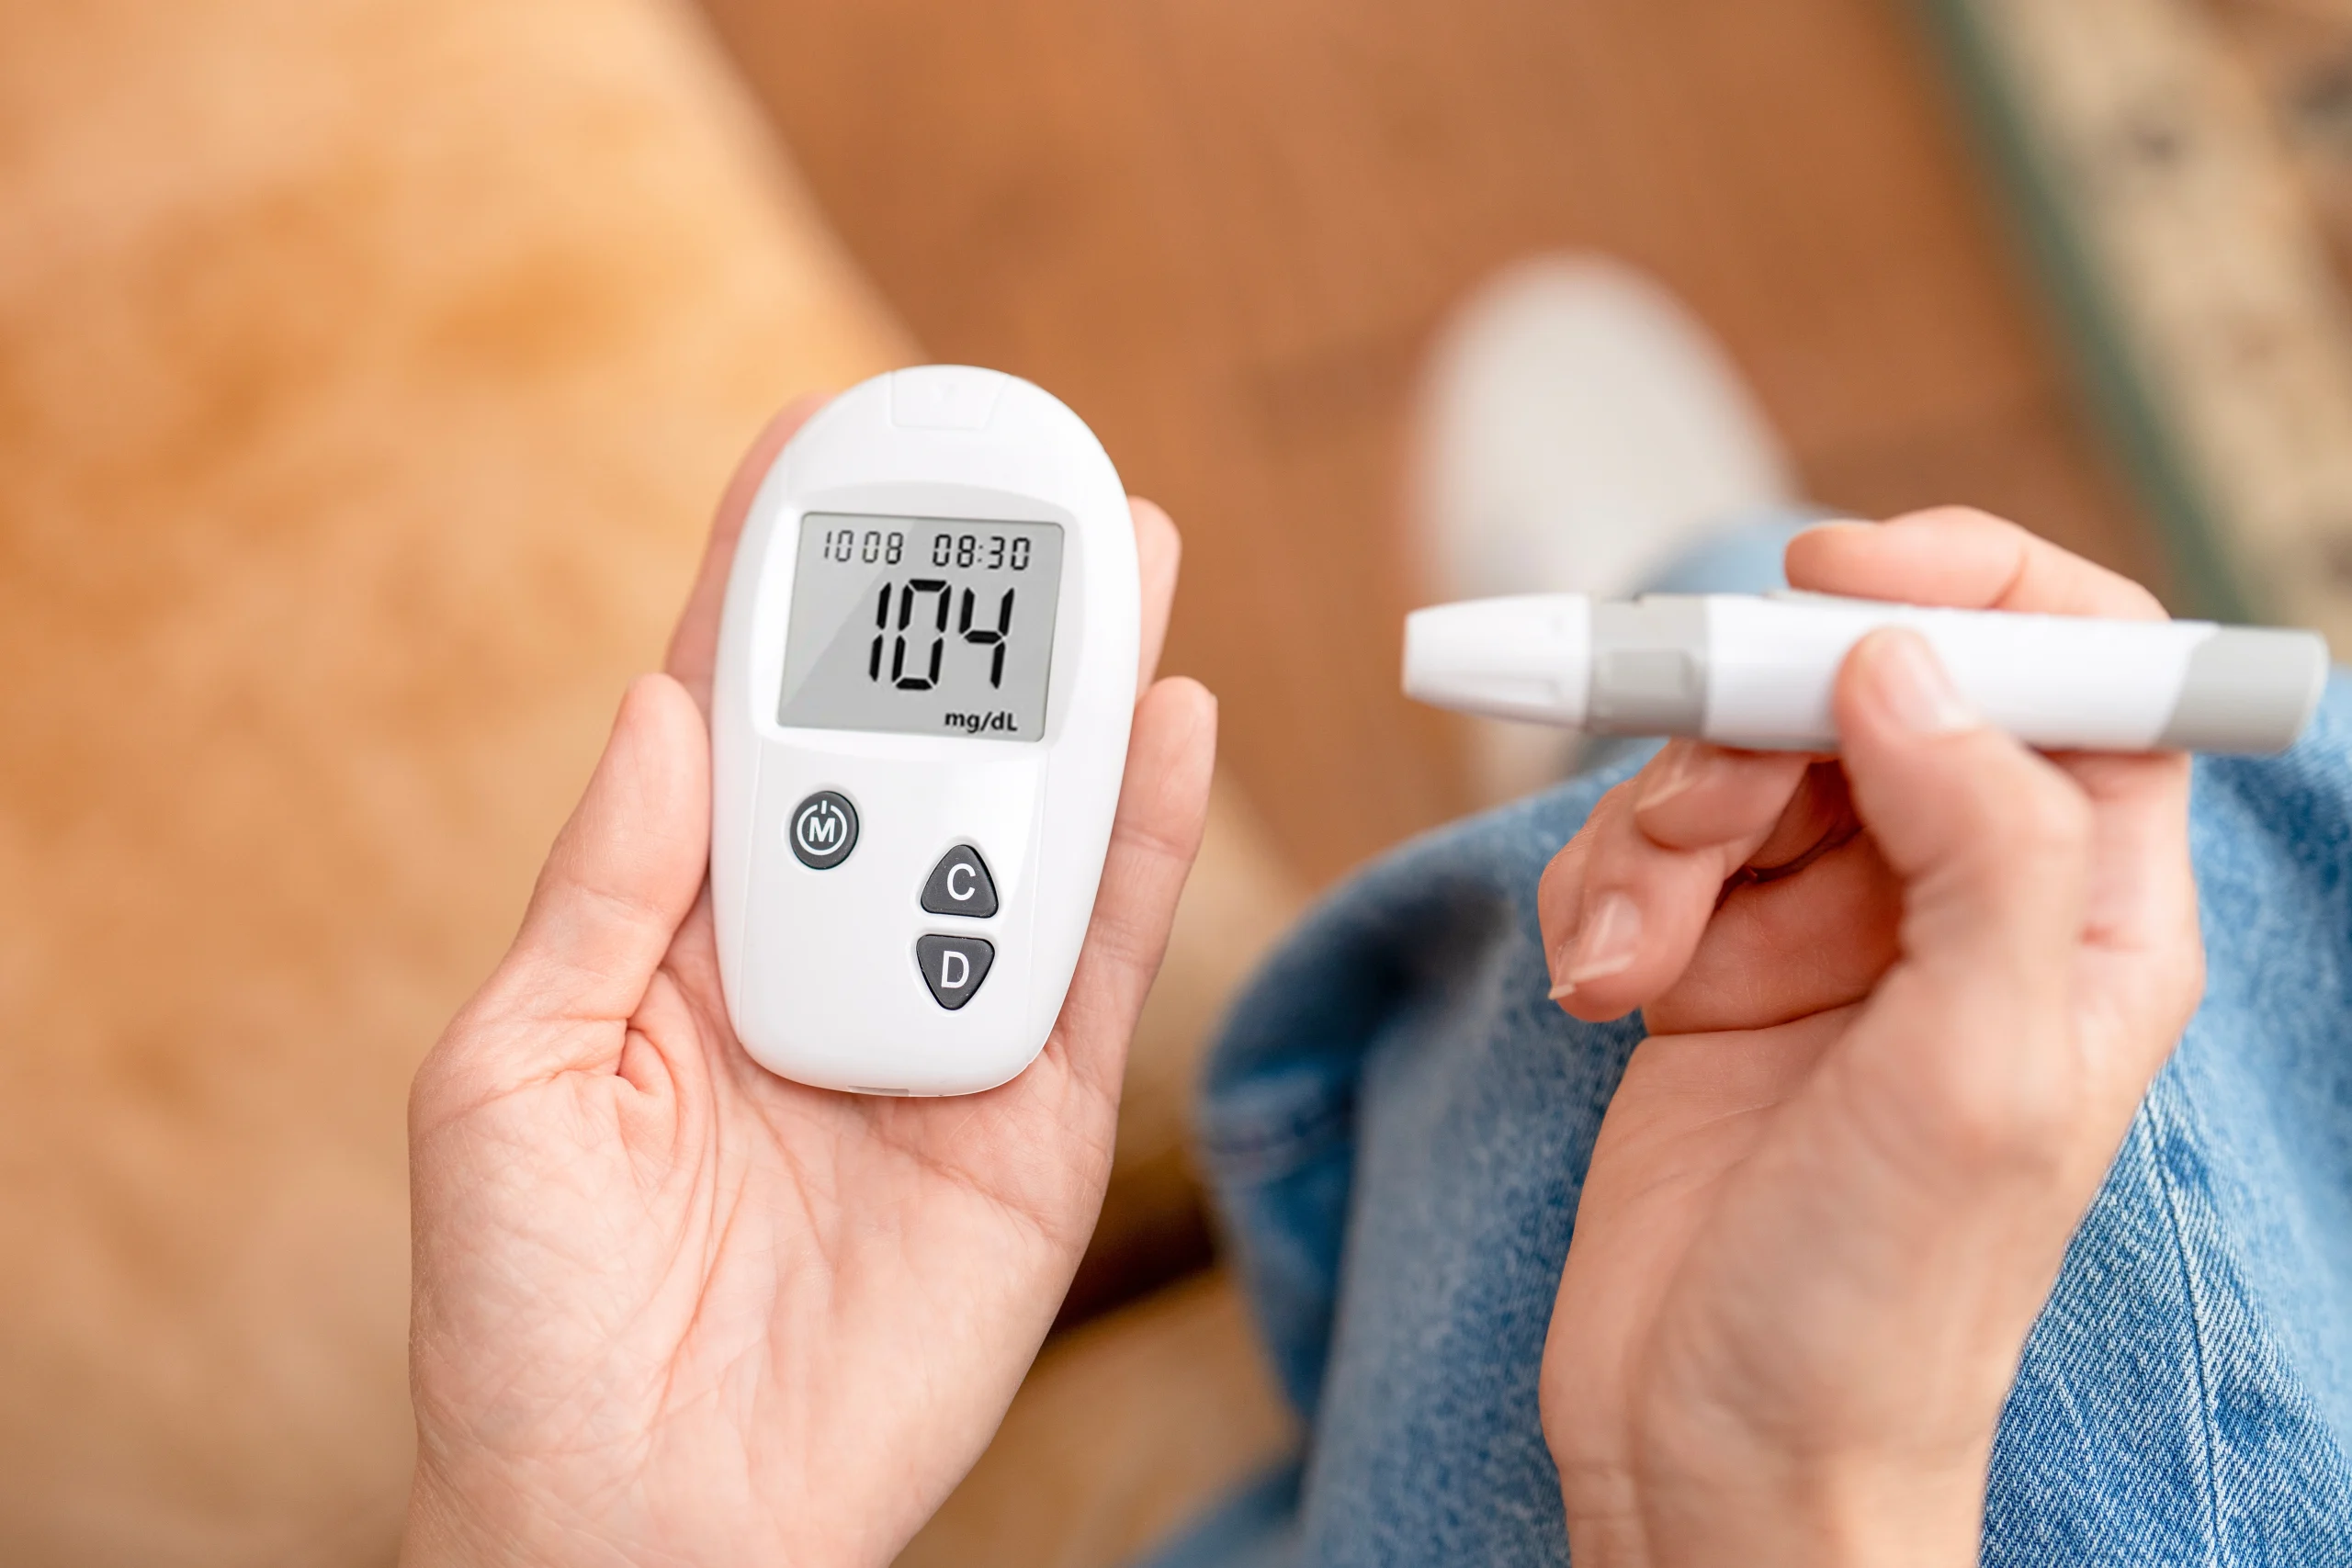
You can do a fairly good home accuracy check of a glucometer without a laboratory. The best method is a control-solution test, followed by a comparison with a laboratory blood glucose measurement if you need stronger confirmation.
1. Use the manufacturer’s control solution — best home method
Most glucose-meter manufacturers provide a glucose control solution specifically for checking the meter and test strips.
The procedure is generally:
1. Insert a fresh, unexpired test strip into the meter.
2. Shake the control-solution bottle if the manufacturer’s instructions say to do so.
3. Apply the control solution to the strip exactly as you would a blood sample.
4. Wait for the meter to display the result.
5. Compare the result with the control range printed on the test-strip vial or packaging.
For example, the strip container might state a control range such as 90–120 mg/dL. The actual acceptable range depends on the particular meter and strip lot.
Do not compare the control-solution result with the normal human blood glucose range. Compare it only with the manufacturer’s control range.
If the result is within the specified range, it indicates that the meter + test strips + technique are functioning appropriately under the control test conditions.
2. When should you perform a control-solution test?
It’s particularly useful:
– When opening a new vial/box of strips
– If the meter has been dropped or damaged
– If glucose results seem unusually high or low
– If results don’t match symptoms
– If you suspect the strips were exposed to heat or humidity
– If you haven’t used the meter for a long time
– When using a new lot of strips, if the manufacturer recommends it
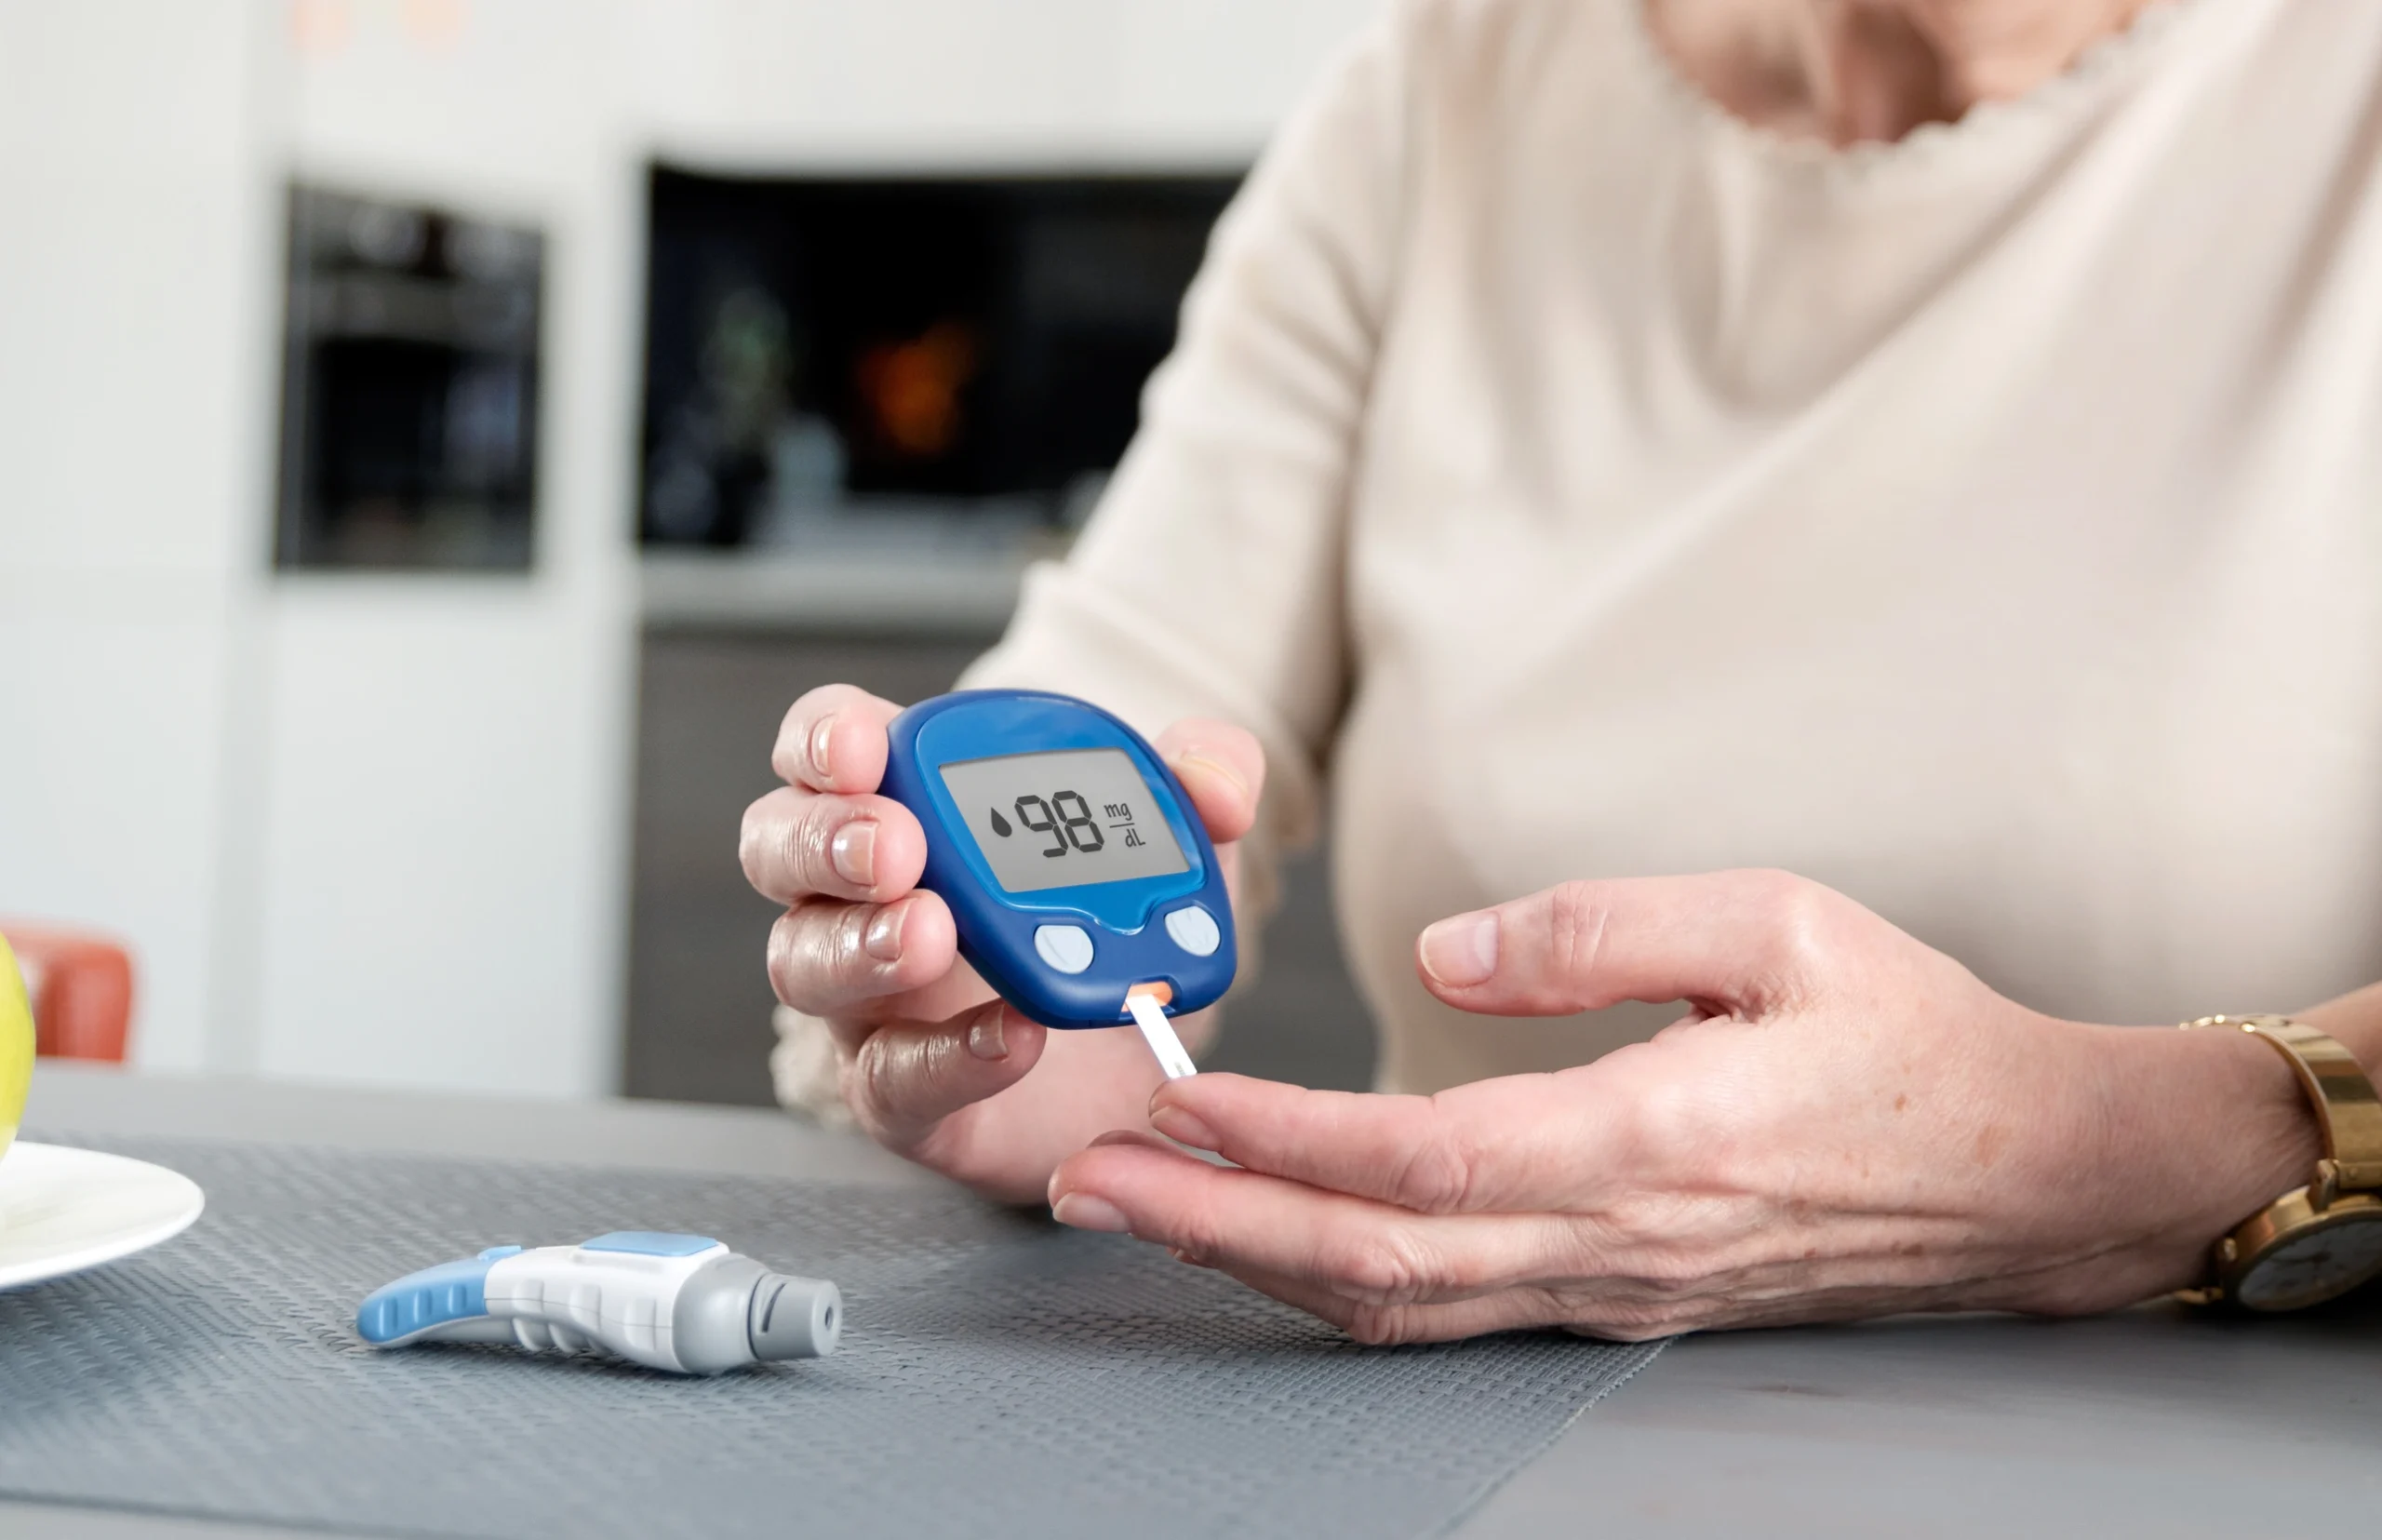
3. If the control result is outside the range
Don’t immediately conclude that the meter itself is defective.
Check these things first:
① Test strips: Are they expired or damaged?
② Storage: Were they exposed to excessive heat, humidity, or cold?
③ Container: Was the strip container left open?
④ Control solution: Is the solution expired?
⑤ Control solution storage: Was it stored according to the manufacturer’s instructions?
⑥ Technique: Was the control solution applied correctly?
⑦ Meter: Is the meter functioning normally?
Then repeat the control test with a new strip.
If it remains outside the manufacturer’s range, contact the meter manufacturer or replace the questionable supplies rather than relying on the meter for important treatment decisions.
4. You can also compare the glucometer with a laboratory blood test
This is a stronger real-world check.
If you have a blood glucose test performed at a laboratory or doctor’s office, you can perform a finger-stick measurement around the same time and compare the results.
However, don’t expect the two numbers to be identical. Home glucose meters have permitted measurement variation, and the laboratory method is generally more precise.
For a meaningful comparison:
– Use an unexpired strip.
– Wash and completely dry your hands.
– Test as close as possible to the laboratory blood draw.
– Use a properly functioning meter.
– Don’t compare measurements taken hours apart.
A single comparison that differs somewhat doesn’t necessarily mean the meter is inaccurate.
5. Don’t use another person’s glucometer as the “standard”
If you have two different home glucose meters, you can compare them, but this isn’t a true accuracy test.
For example:
Meter A: 108 mg/dL
Meter B: 116 mg/dL
That difference alone doesn’t tell you which meter is correct.
You need either a manufacturer control solution or comparison against a reliable laboratory method.
One important point
If you’re checking a glucometer because you’re seeing unexpected readings, tell me the brand and exact model of the glucometer (for example, Accu-Chek, Contour, FreeStyle, On Call, etc.).
I can tell you exactly how to perform the control-solution test for that specific meter and how to interpret the acceptable range.
6. A practical home accuracy check you can do step by step
If you want to check whether your glucometer is trustworthy, I would use this sequence:
Step 1 — Check the strips first
Before testing the meter, verify:
– The strips are not expired.
– They are the correct strips for your meter.
– They have been stored according to the manufacturer’s instructions.
– The vial/container has been properly closed.
– The strips don’t look damaged or damp.
If the strips are questionable, testing the meter with them doesn’t tell you much.
Step 2 — Perform a control-solution test
Use the manufacturer’s glucose control solution.
You should ideally perform two tests if the manufacturer provides more than one control level, such as:
– Low control
– Normal control
– High control
The result from each control level should fall within the range printed on the strip container or package.
For example:
Control range: 80–120 mg/dL
Meter result: 103 mg/dL → Pass
But:
Control range: 80–120 mg/dL
Meter result: 145 mg/dL → Investigate
The exact ranges are different for different meters and strip lots.
7. Check the meter against itself
Another useful check is to perform two consecutive tests from the same finger-stick.
For example:
– First reading: 104 mg/dL
– Second reading: 109 mg/dL
A small difference like this isn’t necessarily a problem.
But if you repeatedly see something like:
– 105 mg/dL
– 145 mg/dL
– 112 mg/dL
from properly performed tests taken close together, that’s worth investigating.
However, don’t interpret every difference as a meter failure. Blood glucose can change, and home meters naturally have some measurement variability.
8. The most reliable real-world comparison: laboratory testing
If you want to determine whether your meter is giving clinically reliable results, you can compare it with a venous plasma glucose measurement from a laboratory.
A useful approach is:
At approximately the same time:
1. Have the laboratory collect the blood sample.
2. Before or immediately around the time of the blood draw, perform a finger-stick test with your meter.
3. Record the meter result.
4. Compare it with the laboratory result.
The comparison should be interpreted using the performance requirements for glucose meters rather than expecting the numbers to match exactly.
Why aren’t they identical?
A laboratory analyzer and a home glucose meter use different testing methods and sample types.
The laboratory generally measures plasma glucose, while a home meter measures glucose from a small whole-blood sample and then reports an estimated glucose concentration.
Therefore:
Laboratory result ≠ necessarily identical meter result
A modest difference can be normal.
9. Don’t test the meter using sugar water or fruit juice
This is a common mistake.
You might see advice online suggesting:
“Put sugar water on the test strip and see whether the meter gives a high result.”
Don’t do this.
The meter and strip are designed and validated for the manufacturer’s specified sample and control solution. Sugar water, juice, honey, or
other substances don’t provide a valid accuracy test.
Use the manufacturer’s glucose control solution instead.
10. What if the glucometer says “HI” or “LO”?
If the meter displays HI or LO, don’t assume that the meter is defective.
First consider:
– Could the glucose genuinely be extremely high or low?
– Is the strip expired?
– Was the test performed correctly?
– Is there enough blood?
– Is the meter displaying an error code?
– Was the strip stored correctly?
If the result is inconsistent with the person’s condition, repeat the measurement with a new, properly stored strip.
If a person has concerning symptoms, particularly severe hypoglycemia symptoms, altered consciousness, repeated vomiting, difficulty
breathing, or severe illness, medical care should not be delayed while troubleshooting the meter.
The simplest way to remember it
Think of glucometer verification as three levels:
Level 1 — At home:
Control solution → compare with manufacturer’s range
Level 2 — Basic consistency:
Repeat measurements → look for unusually large inconsistencies
Level 3 — Strongest practical confirmation:
Compare with a laboratory glucose measurement taken at approximately the same time
For routine home use, the control-solution test is the most appropriate way to check the meter itself.
If you’re checking a particular glucometer because you suspect its readings are wrong, send me a photo of the meter and the test-strip
box/vial. I can walk you through exactly what to check, including the expiration date, storage conditions, control range, and whether the readings you’re getting look reasonable.